Wall design is much more than just hanging pictures – it is an art that gives your room character and creates atmosphere. Especially nature photographs offer a wonderful way to transform your home into a harmonious and inspiring environment. They bring the beauty of nature directly into your home and can have a calming, creative, or even dramatic effect. But how do you hang your nature photographs so that they unfold their full effect and integrate seamlessly into your room concept?
In this blog article, we show you how to optimally stage your nature photographs and give your home an artistic atmosphere.
1. THE CHOICE OF THE RIGHT MOTIF
Before you even think about where to hang your nature photographs, you should consider which motif best suits your room and the atmosphere you want to create. Choosing the motif is crucial, as it sets the tone for the entire room:
Here, large, impressive nature photographs that have a certain presence are suitable. Panoramic photos of landscapes, wide fields, or mountains create a feeling of freedom and calm. For this, you can use diptychs or triptychs. If you want more flexibility, you can also choose 3-piece or bundle sets to tell a cohesive story.
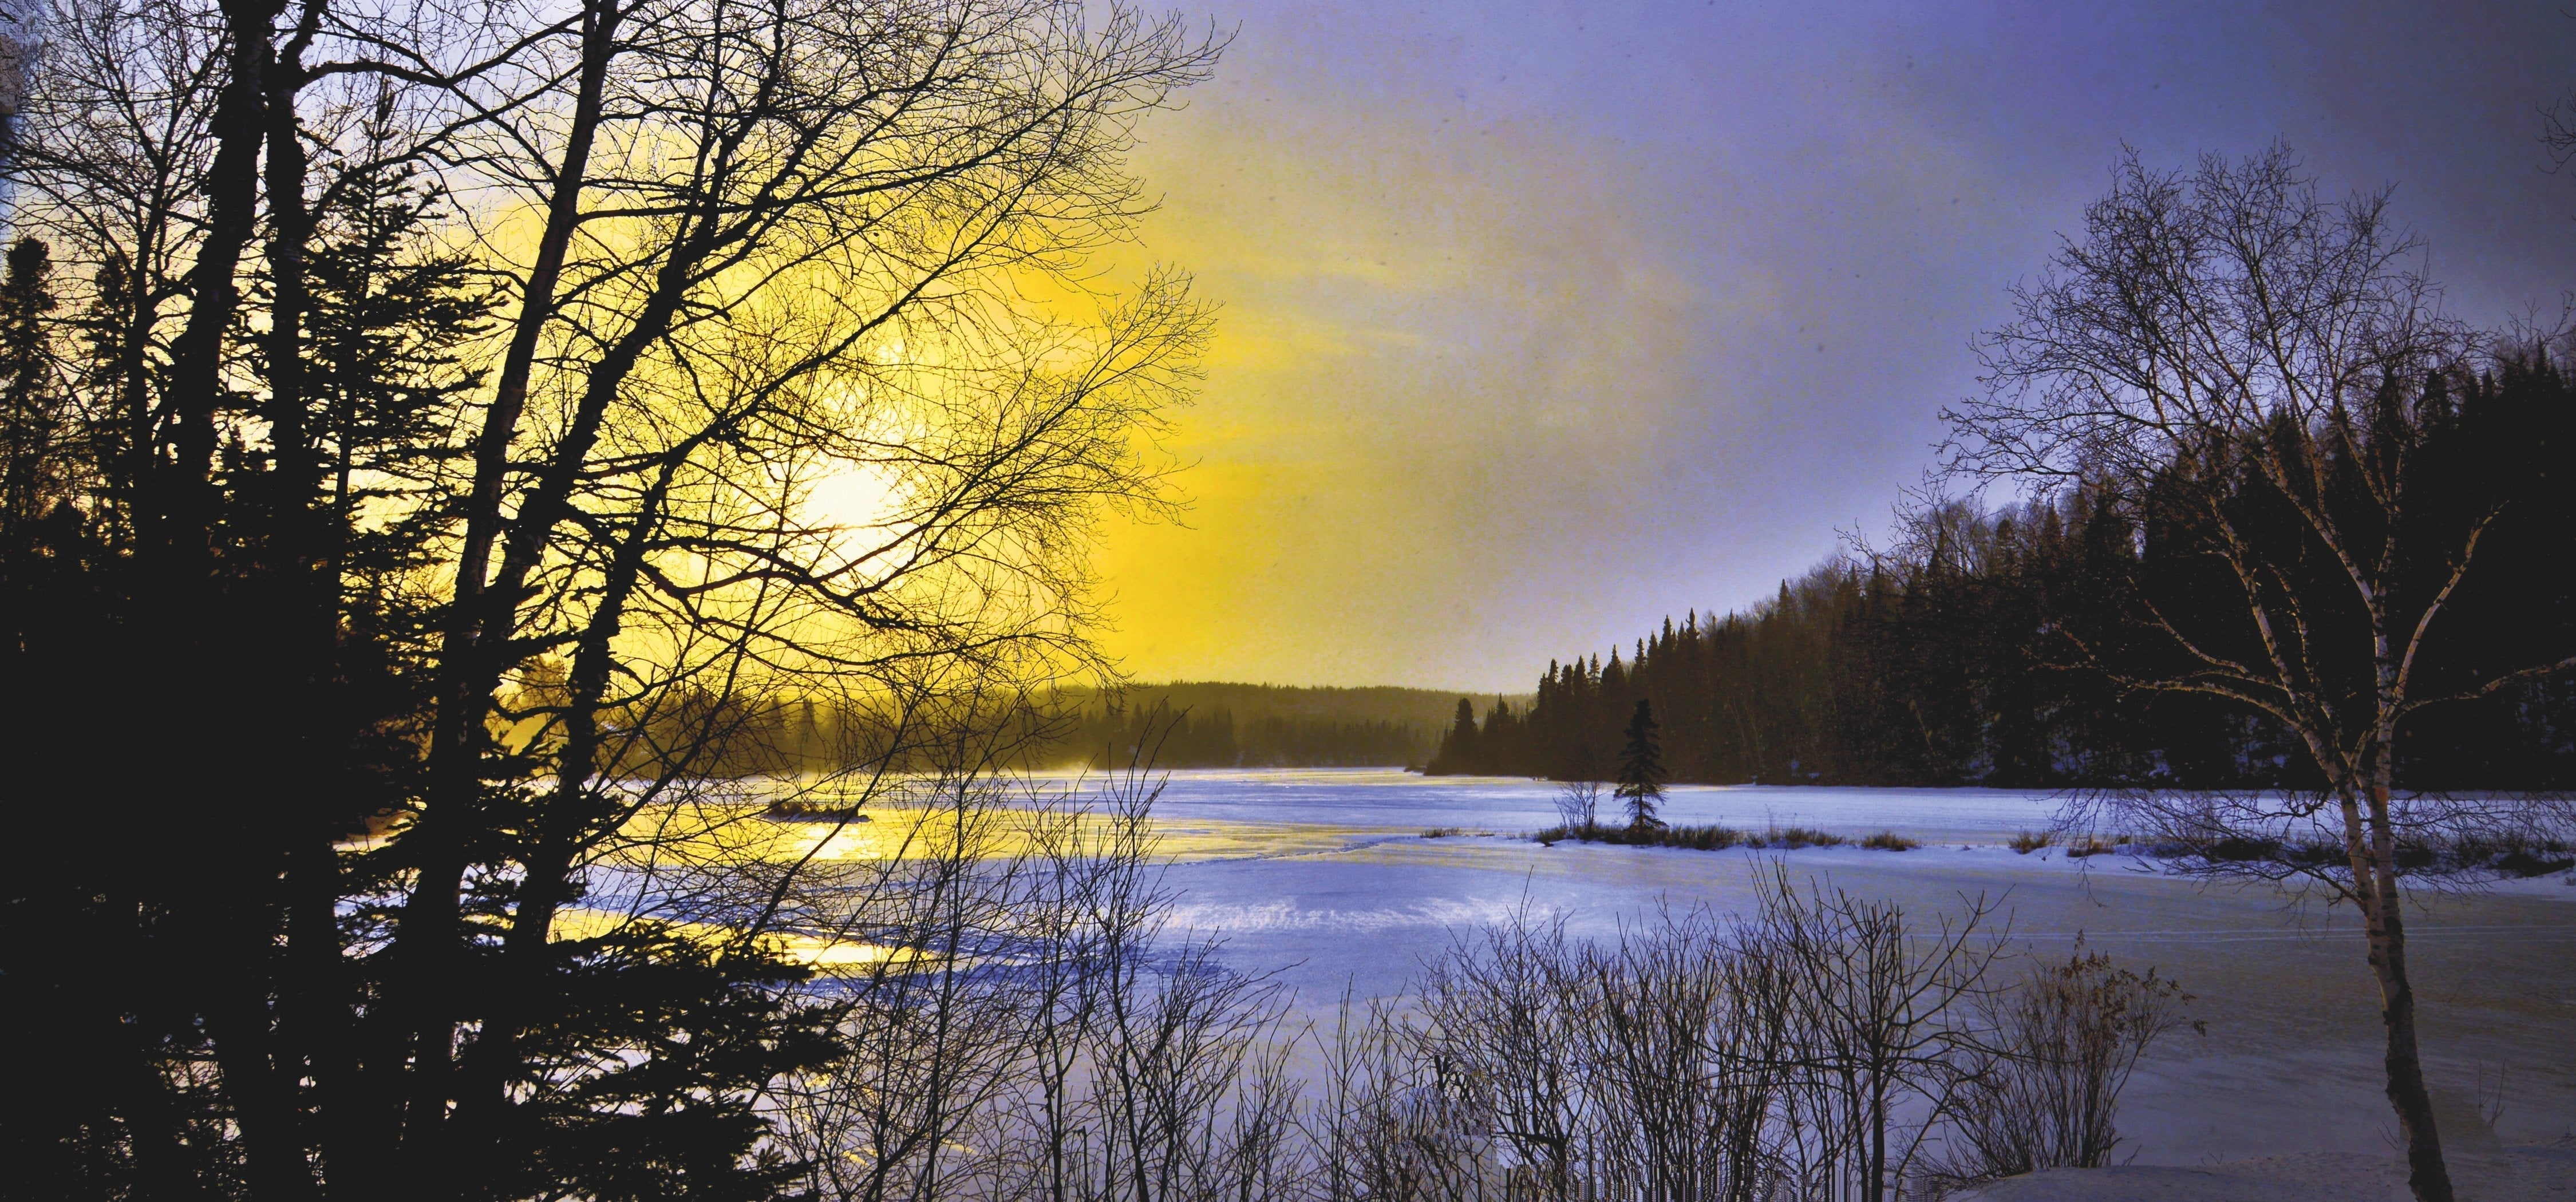
For the bedroom:
Soothing nature images that contain gentle colors like blue, green, and soft yellow create a relaxing atmosphere. Photos of forests, lakes, or calming sky scenes foster a feeling of security and tranquility.
For the office or study:
Here, nature photographs of wide landscapes, but also detailed shots of plants or structures from nature (like tree bark or rocks) can be inspiring. These images can help promote creativity and concentration.
So consider which emotions the subject should evoke and choose the image accordingly. You can also select different formats to further influence the atmosphere.
2. THE RIGHT PLACEMENT – THE GOLDEN RATIO AND MORE
To properly showcase your nature photographs, you should master the art of placement. The positioning of the image is crucial to achieve a balanced and harmonious effect:
One of the classic rules in art is the "Golden Ratio," where the image is placed so that it guides the viewer's eye to the important areas. This creates a natural balance and promotes visual harmony. The Golden Ratio can be achieved by slightly offsetting the placement of the image on the wall – not necessarily centered, but shifted a little to the side.
Hang at eye level:
Most pictures should be hung at eye level to get the best out of their effect. A good rule of thumb is to position the picture so that the center of the frame is about 145 cm above the floor. This placement ensures that the picture looks good both when standing and sitting.
Multiple pictures in a row or on one wall:
If you hang multiple pictures, make sure that the distance between the pictures is even. This is especially true for 2-piece, 3-piece, 4-piece or bundle sets that are meant to create a greater impact together. A distance of 5 to 10 cm between the pictures ensures a harmonious and clearly structured look.
3. FRAMES AND MATERIALS – THE RIGHT FRAME FOR THE PERFECT PICTURE
The frame of your nature photograph plays an equally important role as the picture itself. It can enhance or soften the effect of the picture. The right frame fits perfectly into your room concept without distracting from the photography:
A simple, thin wooden frame or a plain metal frame in black or white fits perfectly. These subtle frames let the picture speak for itself and create an elegant, unobtrusive atmosphere.
For classic or rustic rooms:
Here, wooden frames with a natural grain or antique, ornate frames can be ideal. These frames complement the nature photographs and enhance the rustic or classic charm of the room.
For an elegant touch:
Gold or silver frames can immediately give a picture a luxurious flair, especially if you want to integrate large-format nature photographs into your home.
The use of a mat can also highlight the picture and give it additional space. However, make sure that the frame does not dominate the space and the picture too much, but gently emphasizes the subject.
4. THE RIGHT WALL FOR YOUR NATURE PHOTOGRAPHS
The choice of the wall on which you hang your nature photographs is also crucial for the effect. Consider which wall surfaces in your room are best suited to present the photography and create an artistic atmosphere:
Walls without much decoration offer an ideal place for larger nature photographs. These images can then attract all the attention and serve as a central element in the room.
Hanging above furniture:
Another option is to place your nature photographs above large pieces of furniture like the sofa, bed, or desk. This creates a clear visual connection between the wall decoration and the furniture. If you combine several pictures, make sure they are not hung too high but positioned at a comfortable viewing line.
Using corners and niches:
Corners and smaller wall areas can also be perfectly used to create a small gallery with nature photographs. Here you can hang 2-piece sets or smaller pictures and thus create a cozy corner in your room.
5. INTEGRATION INTO YOUR ROOM CONCEPT
Nature photographs should seamlessly fit into your room concept and emphasize the overall atmosphere. The colors and theme of the nature photographs should harmonize with the rest of the furnishings:
Choose nature images whose colors match the room's color palette. For bright, modern rooms, nature photographs in soft blue and green tones are suitable, radiating calm and freshness. In darker, cozier rooms, images with warm, golden, or red tones can refine the ambiance.
Combination with other decorative elements:
Complement your nature photographs with matching elements like plants, rugs, or cushions that pick up the nature theme. These small details ensure that the wall design works together with the overall room design to create a coherent overall picture.
Now that you know the benefits of purchasing a digital nature photograph and how to integrate it into your home, there is one last step to turn your digital image into a real wall picture. You have the choice to have your image printed in various sizes and on high-quality materials such as canvas, acrylic glass, Alu-Dibond as well as many other options.
We have partner printing services that help you create your wall art exactly according to your ideas. Check out the printing options here and find out how you can have your image printed!
Conclusion
The art of wall design with nature photographs allows you to give your home an artistic and calming atmosphere. By choosing the right motifs, hanging the photos correctly, selecting the appropriate frame, and integrating the photographs well into your room concept, you can create a harmonious and inspiring ambiance. Nature photographs not only bring beauty to your rooms but also positively affect your well-being by creating a calming and refreshing effect.
Check out the diverse selection of digital nature photographs in our online shop today – from 2-piece sets to larger bundle sets, you'll find the perfect wall decoration for your home. Bring nature into your house and create an atmosphere you'll never want to miss.